

Converting a Yamaha golf cart to lithium is one of the most valuable upgrades for owners who want better performance, longer usable range, and less battery maintenance. Traditional lead-acid batteries are heavy, require regular watering, and gradually lose voltage as they discharge. Lithium batteries, especially LiFePO4 batteries, deliver more stable power, faster charging, and cleaner long-term ownership.
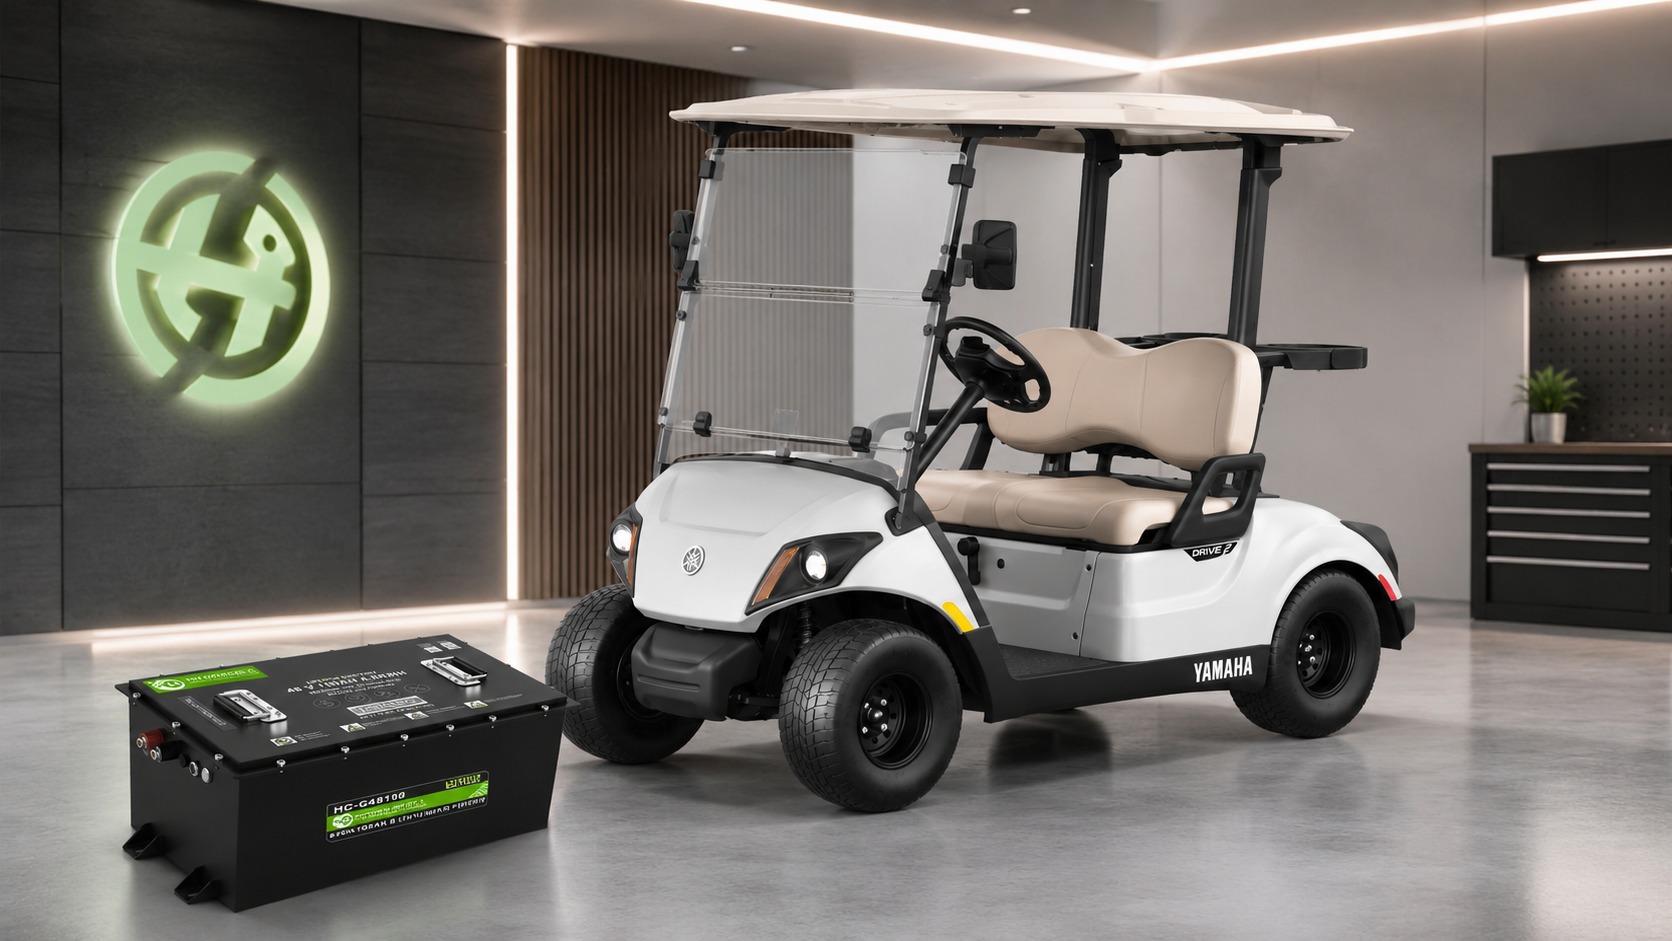
For Yamaha owners planning a 48V upgrade, hydrocell provides lithium battery solutions for golf carts and light electric vehicles. A practical option to consider is the HC-G48100, a 48V lithium battery designed to support efficient golf cart power conversion.
Why Convert a Yamaha Golf Cart to Lithium?
The biggest advantage of a lithium conversion is weight reduction. Lead-acid battery banks are extremely heavy, and that weight affects acceleration, hill climbing, braking, tire wear, and total driving range. Replacing multiple lead-acid batteries with a modern lithium battery pack can make the cart feel lighter, quicker, and more efficient.
Lithium batteries also reduce maintenance. You no longer need to check water levels, clean acid residue, or perform equalization charging. For golf cart owners who want reliable power without constant battery care, lithium is a major improvement.
Lead-Acid vs Lithium for Yamaha Golf Carts
| Feature | Lead-Acid Battery Bank | Lithium Conversion Battery |
|---|---|---|
| Weight | Very heavy and affects cart handling | Much lighter and improves efficiency |
| Maintenance | Requires watering, cleaning, and corrosion checks | Low maintenance with no watering required |
| Charging | Slower charging and voltage drop during use | Faster charging with stable power output |
| Performance | Power fades as battery level drops | More consistent torque and speed |
| Long-Term Value | Lower upfront cost but more maintenance | Higher upfront cost but better ownership experience |
Pre-Installation Steps
Before beginning the Yamaha lithium conversion, prepare the cart and workspace carefully. Park the cart on a flat surface, remove the key, engage the parking brake, and disconnect the charger. Wear safety gloves and eye protection because old lead-acid batteries may have corrosion, acid residue, or damaged terminals.
Take photos of the original battery layout before disconnecting anything. Label accessory wires, main cables, and charger connections if needed. This step makes reassembly easier and reduces the chance of wiring mistakes.
Confirm cart voltage: Verify whether your Yamaha cart is 36V or 48V before choosing a lithium kit.
Inspect the battery tray: Check for rust, corrosion, broken brackets, or weak mounting points.
Measure the battery compartment: Make sure the new lithium pack fits securely.
Review controller capacity: Confirm that the cart controller can work with the lithium upgrade.
Plan accessory power: Lights, horns, USB chargers, and radios may require a DC converter.
Battery Removal
Removing the old lead-acid batteries is often the hardest physical part of the conversion. These batteries are heavy and should be lifted carefully. Disconnect the negative cable first, then disconnect the positive cable and battery interconnect cables.
After removing the old batteries, clean the tray thoroughly. Remove corrosion, dirt, and acid residue. If the tray is damaged, repair it before installing the new lithium battery. A stable mounting surface helps protect the battery and reduces vibration during driving.
Installation and Wiring
Most modern lithium conversion kits, including 48V plug-and-play style battery packs, are designed to fit where the original lead-acid batteries were mounted. This makes the conversion cleaner and easier because one lithium battery can often replace several lead-acid batteries.
For many Yamaha lithium conversion projects, a battery such as the HC-G48100 can be considered as a 48V LiFePO4 option. It is designed for golf cart power applications and can help reduce weight while delivering stable performance.
| Installation Item | What to Check | Why It Matters |
|---|---|---|
| Battery Fitment | Confirm length, width, height, and mounting position | Prevents vibration and movement during driving |
| Main Cables | Connect positive and negative cables correctly | Protects controller and battery electronics |
| Mounting Brackets | Secure the battery with brackets or straps | Keeps the battery stable on rough surfaces |
| Charger | Use a lithium-compatible charger | Protects the battery and ensures proper charging |
| Accessories | Install a proper voltage reducer if needed | Protects 12V lights, horn, and small electronics |
Post-Installation and Charging
After wiring the lithium battery, inspect every connection before powering the cart. Check that all terminals are tight, cables are routed safely, and the battery is properly secured. Then connect the lithium charger and allow the battery to charge fully before the first test drive.
Do not assume your old lead-acid charger will work with lithium. Lithium batteries require a proper charging profile. Using the wrong charger can cause incomplete charging, battery faults, or reduced battery life.
Step-by-Step Yamaha Lithium Conversion Checklist
Park the cart safely: Turn off the key, set the brake, and unplug the charger.
Record the original wiring: Take photos and label cables before removal.
Remove lead-acid batteries: Disconnect cables carefully and lift batteries out safely.
Clean the battery tray: Remove corrosion and inspect the mounting area.
Install the lithium battery: Place the battery securely in the tray.
Connect main cables: Follow correct polarity and manufacturer instructions.
Install lithium charger: Use a charger designed for LiFePO4 batteries.
Connect accessories: Use a DC converter for 12V devices if required.
Test the cart: Start with a slow test drive and check all functions.
Is It Worth Converting a Golf Cart to Lithium?
Yes, converting a Yamaha golf cart to lithium is worth it for many owners. The upgrade reduces maintenance, lowers weight, increases usable range, and provides more consistent power. Although lithium costs more upfront, the improved ownership experience often makes the conversion worthwhile.
Lithium is especially useful if you drive long distances, climb hills, carry passengers, or want a cart that charges faster and requires less attention. A reliable option from hydrocell can help simplify the conversion process and deliver dependable performance.
Common Mistakes to Avoid
Buying a battery with the wrong voltage
Using a lead-acid charger without confirming lithium compatibility
Failing to secure the lithium battery properly
Ignoring accessory wiring and voltage reducer needs
Using corroded or undersized cables
Skipping the first low-speed test drive
Assuming all Yamaha model years use the same wiring layout
Why Choose a Quality Lithium Battery?
A lithium battery is the heart of your Yamaha golf cart conversion. Choosing a reliable battery matters because it affects speed, range, safety, charging, and long-term performance. The HC-G48100 is a 48V LiFePO4 option that can support cleaner power delivery and reduced maintenance for many golf cart applications.
When comparing lithium batteries, review capacity, BMS protection, discharge current, dimensions, warranty, charger compatibility, and installation support. A lower-priced battery may not always provide the same reliability, safety protection, or long-term value.
Conclusion
A Yamaha lithium conversion can transform your golf cart by reducing weight, improving range, increasing efficiency, and eliminating most lead-acid battery maintenance. The process includes preparation, lead-acid battery removal, lithium installation, correct wiring, charger matching, and final testing.
For owners seeking a dependable upgrade, hydrocell offers lithium golf cart battery solutions, and the HC-G48100 is a useful 48V option to consider for a Yamaha lithium conversion project.